Showing posts with label Food production. Show all posts

Saturday, February 10, 2018

Preserving the Vacola Way - Week 5


Preserving the Vacola Way
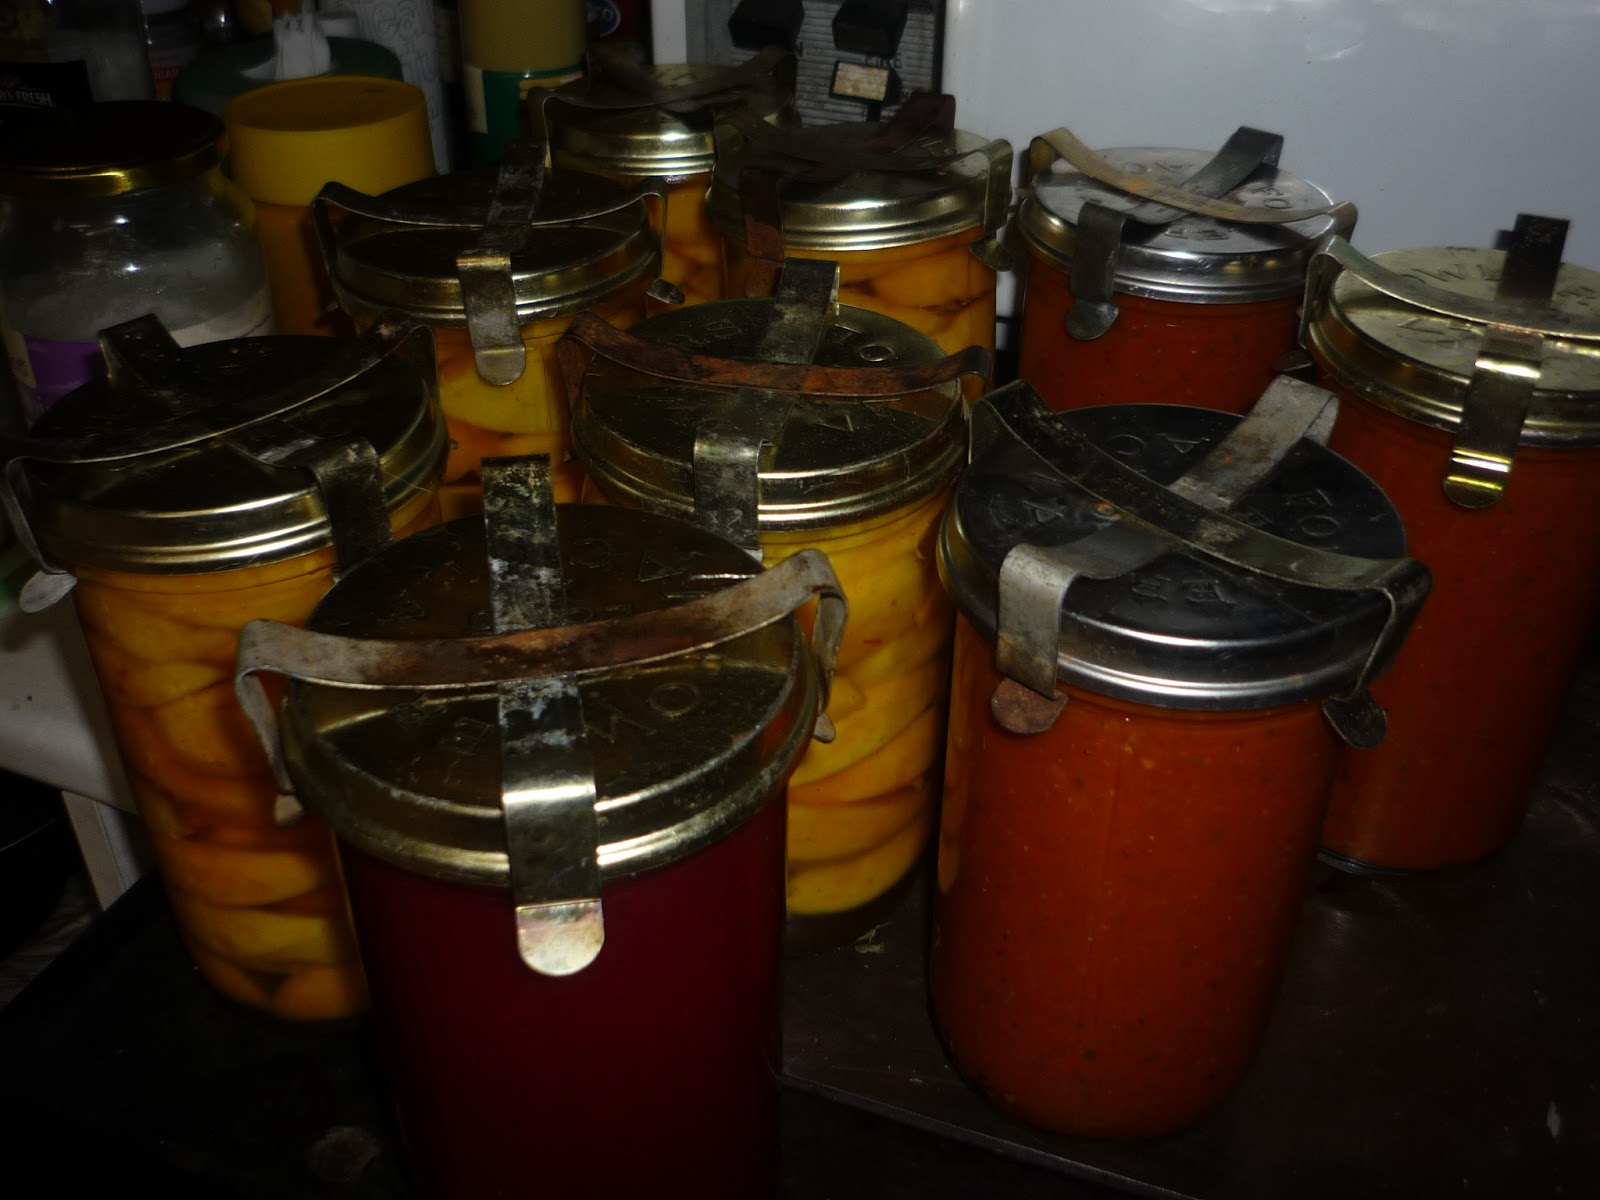


 Returning from being away from a week at this time of year, there is always plenty to preserve. The tomatoes are starting to get red, the peaches and plums are ripe and the apples are dropping madly.

The main way we preserve is with the Vacola. It seems every garage or clearing sale has a set at giveaway prices. I have had lots of people approach me to help them empty their shed of dusty vacola jars. I prefer the size 4 ones that are big enough to put your hands in, particularly for the peaches.

First I make a sugar syrup. I make it medium which means about 2kg of sugar dissolved in 5 litres of water. I make a big batch so it can be used anytime while the stonefruit are ripening. Meanwhile I clean and sterilise the jars. It is important to put the rings next (which I have soaked for at least 5 minutes in hot water) before putting anything in the jar.

I peel the peaches with a potato peeler (if the skins don't come off by hand) and remove the stones. The flesh is then cut int segments which are placed with the curve out around the sides of the jar. About every six or seven segments I put one or more in the middle to keep the rest to the edge. This does depend on the size of the fruit. After each piece of fruit I pour in some syrup and make sure the air bubbles are out before repeating the process. Once there is almost no space at the top of the jar I  place the lid on and secure with two clips. One of these is removed a day after the jar has come out of the water bath and I leave the other on till it is used - though it is not necessary.

The Vacola Unit takes 9 size 4 jars or 13 size 3. Once the jars are placed in, the water is added to the shoulder of the jar. The temperature is raised to 54 degrees Celsius over one hour. Then raised up to 83 degrees C in 30 more minutes. This temperature is maintained for 15 minutes before turning off and allowing to cool.

With tomatoes I wash them and boil them up with onion, garlic, basil, excess zucchinis and carrots and any other veg I have spare. I use a stick processor to mush it all up and then pour into sterilised jars. Plums and apples are simply stewed and then processed.

Fruit preserved in this way tastes great for up to a year if kept in a dark cool place and then gradually deteriorates.

It takes up less space and energy than freezing or drying and tastes wonderful as dessert on a cold winter night.

Saturday, April 1, 2017

A Sign of Autumn


A Sign of Autumn

One of the first signs that the weather is turning is when you can begin to see the pumpkins when they are in a large patch. The leaves just start to droop and those lovely great pumpkins start to shine through. The first frost won't be long but the vines have done their job and harvesting the fruit is not far off.


Making Tomato Sauce


Making Tomato Sauce

Each year our main summer crop is tomatoes. As well as many months of fresh tomatoes we make lots of tomato sauce which is used throughout the year in lots of dishes. On pizza, pasta or rice, cooked with meatballs or added to many dishes to give some vegetable goodness.

This year we had even more tomato plants than before and now a polytunnel to grow some in so we have had a bumper crop. Last year we made over a hundred jars worth and still ran out. One of the reasons for this was that some of the jars failed. So this year I resolved to Vacola the sauce. The jars are therefore much bigger.

The recipe is fairly basic. Onions and garlic sauteed in oil, plenty of zucchini and lots of tomatoes. This year I have added lots of basil for flavour. Once it has come to the boil I leave it on the stove for a few hours simmering and reducing. Then it is poured into warm sterilised jars and then put into the Vacola.


So far we have 80 Vacola bottles made and seven bottle of ketchup sauce. We have given away two crates of tomatoes and there is still plenty left to ripen. Time to try some other sauce variety, I think, but we will never starve this winter. Yum.

How to Make Wine at Home


How to Make Wine at Home

First of all you need some grapes. About 15 years ago I planted four merlot vines given to me by a friend who worked erecting fences for vineyards. Three grew and now extend over about 25 metres on a wire trellis in a cage covered in chook wire to keep off the eager birds.
This year was the best crop ever - two trugs and three large boxes. After giving away a box this was my haul for wine making.


Then we loosely washed the grapes by filling the trugs with water. About a sixth of the washed grapes were lifted out and put into a trug cleaned with a small amount of bleach. Our feet were washed and then the fun part. Squishing the grapes beneath our feet until there was plenty of juice. The juice was poured through our yellow colander into the barrel. The residue was put into a spare trug and the process repeated.


Once the barrel was nearly full - 30 litres - we added some of the residue. This contains natural yeasts so that nothing else is needed. You can buy commercial yeasts to add at this point but it is not necessary.


While the pigs enjoyed the rest of the residue the barrel sat in the kitchen with an airlock in the top.Within hours it started to ferment. Three days later we removed the now alcoholic residue or musk (another post might tell the story of the musk, the drunk dog and the vet - but not now) and decanted the wine into two demijohns. We will leave the wine in these until the fermentation stops and the we will bottle the wine with a cork and put it down in the pantry to await drinking.


As we haven't made much headway into previous vintages this bumper crop might last us a while! Still - it is very easy and fun to make it.


Saturday, January 7, 2017

The Current Abundance


Christmas is the time for the redcurrants to be ripe. Our three bushes give enough currants to keep us in redcurrant jelly for a long while. It goes well on sliced pork as well as on toast.


The currants are easy to pick and this is often a task that small children enjoy. Between myself and my youngest daughter we picked about 3kg from the three bushes.


These were boiled up, seived to remove the seeds and the resultant juice mixed with sugar to make a jelly. We bottled four jars from this - about 2kg of jelly.


We also picked a load of raspberries. The first batch made six jars of jam.


Faced with a glut of raspberries and enough jam made it was time to consult the google cookbook. The simplest solution was to make raspberry sorbet. A cup of water was added to five cups of berries and then cooked up. The mush was put through a seive to separate out the seeds from the juice and the juice put through some cheesecloth to be sure. Sugar and vanilla essence were added, heated to dissolve the sugar and then frozen. Delicious if a bit intense so either to be eaten in very small quantities or to flavour something blander. 


Definitely a way to use up berries. Simple, quick and very tasty. In winter it will be a burst of summer flavour to boost the spirits.

Friday, January 6, 2017

Time to let the Asparagus stop shooting


The first week in December means the end of the asparagus shoots. As the first spring plant to be harvested they are very welcome but when summer comes it is time to let do their thing and turn into ferns.
Once they are tall enough they may need supporting from strong winds. Otherwise some manure or compost and removal of weed competition is all that they require until they die off and need to be cut down. Early next Spring they will be back again.

When Summer Plants are Small and Growing

I like to train my tomato vines up a single piece of baling twine attached loosely to the plant and suspended from the chicken wire roof. I pinch off all the laterals to keep the plant heading straight up and this means I can plant them quite densely. This bed will have about twenty tomato plants in.


Zucchinis are easy to grow but for years there was always and overabundance. Since we started fattening piglets this problem was solved and they can't get enough.


The iceberg lettuces - Goldrush - have proved a success this year as the children will actually eat them!


Gardens ready for summer

This year we have a hot house. Even though all our tomato seedlings were zapped by frost in October it still packs a bit of heat and will make a difference to what and when we can grow here in the Snowy Mountains.
It is an experiment to see how much water is needed and to get plants established. 

The paths are still full of weeds but the central bed has iceberg lettuce, mizuna and mesclun. They will bolt early with the heat but will give us some greens for spring.


At our other property all the winter plants have been removed and the beds ready for the tomatoes and zucchinis and pumpkins that love the lower altitude and warmer temperatures.

Garlic Harvesting

This year we planted an early harvesting variety of garlic.This was handy for two reasons - we had a poor crop last year and almost ran out and because by harvesting in November space was cleared for some summer seedlings.


By Mid November there were a few heads that were just thinking about forming a flower so it was time to pull them up.


Each bulb planted had turned into a beautiful purple and white corm. Cleaned roughly of soil they were laid out on a table in the shed to dry.


These were from our other property where the lower altitude (300m instead of 900m) meant the garlic was harvested a couple of weeks earlier. These have dried and are ready to be trimmed and plaited and hung in the pantry.

We haven't bought garlic for a few years. Even though garlic is not supposed to store for 12 months it seems to last. So early harvesting and long lasting varieties of mild garlic are certainly our preference.

Saturday, October 15, 2016

Planting out Seedlings

 
They seemed too small to be planted out but the lettuce, mizuna and mesclun seedlings were overcrowding their punnets. It was time to get some in the ground. So far there have been no signs of snails or slugs in the polytunnel but they will no doubt find a way in. This means that the seedlings will need protection. Some of them I have put a little cloche made from slicing up a 2 litre milk carton. Others have a trail of eggshell around. I will be able to test out the efficiency of these methods.
 
 
A friend gave us some excess basil seedlings so they get the eggshell treatment as well.

 
The self seeded silverbeet is loving the polytunnel. As long as it gets water it is growing quickly and tastes good as well. To the left is a self-sown lettuce that is nearly ready for the table.


Sunday, September 25, 2016

Perhaps it is a Polytunnel after all

Finally the great day arrived. The long awaited cover for the garden was ready and there were three people at home to help roll it over. One person stood on the ute, one on a ladder and I stood in the middle on a table armed with a broom. It took a couple of minutes getting the hang of it but once the roll made it nearly to the top the rest was easy.
 
 
Once we had pulled it square and tight the ends were secured by screwing strapping into the end hoop. Lots of screws meant that the pressure of windy days is spread out as much as possible.

 
At the sides the plastic was rolled around a piece of wood which was pulled under an already fixed piece. This drew it tighter and gave a level surface to secure it to.


Now that it is covered it is possible to feel the increase in temperature, even on cool damp spring days. The air circulates well so it is definitely not a hot house. The construction does not lend itself to being a greenhouse so I am leaning towards calling it a polytunnel. Like a tunnel it is open both ends and it is certainly made out of 'poly'.

Sunday, July 24, 2016

Not for the faint-hearted or chicken!

Breeding chickens inevitably leads to excess roosters. While I was lucky enough to have only four males from eighteen chicks they joined the ranks of other five roosters I already had. So it was time to take the chook by the feet and learn how to process excess cockerels into frozen chook.
 
After twenty seven years of vegetarianism I realised that producing my own food required me to eat some of the many animals that have been living a happy life on Opportunity Farm. While reducing the food miles significantly it led to the necessity of butchering. So far I had only managed to despatch one bantam rooster. I was not confident I could repeat the process unsupervised so I called up a friend who was happy to help me in exchange for a chook to take home.
 
We calmed the birds by hanging them upside down until they settled, thanked them for what they were to become and then opted for the neck wringing option. This had worked easily on a bantam but it seemed a different prospect on a large young Light Sussex. Without going into the gory details we either needed to adopt the cone method or use a broom handle under our feet to be able to complete the hardest part in the most humane way.
 
 
That done we hung them in the shed to drip and started to pluck. We had a water boiler going but while we waited for it to reach about 70 degrees Celsius (160 F) we pulled away at the feathers. I was a bit enthusiastic and ripped the skin in a couple of places. When we did dip the birds in the water it certainly made removing the feathers very much easier, especially the large wing feathers.

 
With the feathers removed the next step was to remove the head. We found our knives not sharp enough so I resorted to the chopping block and a tomahawk. It was not so confronting to do this when the bird was featherless and the blood already drained. We then cut around the anus and pulled out the insides. I am sure that an expert can make this look easy but suffice to say the job was completed.

 
The feet were then removed with the knife. Both birds weighed in at 1.7kg. They were then bagged up. Michelle suggested that it seems an appropriate contribution to go in the haybox next weekend when we attend a bonfire party.


The new Brassica House


During the disastrous goat escape they ripped the bird netting and trashed all the brassicas and bok choi in the caged garden. So a redesign and a rebuild was required. It made sense to make this garden bigger and to protect the plants from animals by a half metre of corrugated iron around the base. This will also do some frost and wind protection. The cage is now high enough to walk around in and the structure is much more solid and as level and square as a garden which slopes two ways can be. The old screen door from the house that was a pain every time you went in or out now has a more useful home.
I searched online for some netting that would keep the birds and cabbage moths out while letting enough light in and was available in Australia. I finally found Grow Cover which is imported from Italy by a WA company Jenny's Garden. $90 for enough to cover this garden seemed a decent price.

It has arrived and so my next job is to brace up the spaces and secure the netting. Then I will need to cover all the extra spaces particularly where the cage meets a weatherboard shed. Hopefully it will prove a much better place for all the beans, peas, broccoli, caulis and lettuce.

Liming and Manuring the Gardens

With the hothouse nearing completion it is time to cover the soil with manure from the goat shed and plenty of lime. After the goats escaped and ate what winter greens were growing there was an opportunity to set the space up properly for the summer plants and seedlings. All it needs now is mulch, a plastic cover and some seeds!
 
 
The root crop bed is also getting a makeover prior to planting onions, carrots, parsnip and beets.


This year we are planting potatoes in the space between the chook pens and around the raspberry patch. Trenches were dug to a spade's depth and then well-rotted sheep manure and lime was strewn in the bottom. This will be left to seep in for a while before the potatoes are planted next month.


The old raspberry canes have been cut back and this year's have been tied together in clumps and plenty of manure and lime added.


Planting the Onion Sets


July is time for onion planting. I have never had much success growing them from seed so I buy seedlings in punnets from a nursery. The lady there reckoned there was up to 140 seedlings in each punnet so the outlay of $5 for two seems pretty fair. So one of red onions and one brown.

The garden has been prepared so that we can plant the onions in a mound so the ground drains well. Onions are not so keen on lots of nitrogen but love the effect of lime in the soil. The space between the rows helps for pathways and for ease of hoeing. Each plant is dropped into a hole poked into the mound so that all the white lower part of the plant is buried and only the green leafy part is above the surface. With more lime scattered and the plants well watered in, the onions are ready to grow.

Thursday, June 23, 2016

Extending the tomato harvest

 
Despite a couple of months of frost and cold we are still getting ripe tomatoes. These were removed from the bushes as trusses after the first light frost tipped the leaves. They have been sitting on trays in a darkened hanging shed since then. Once the tomatoes gain a tinge of orange they are brought in the house and put up on the windowsill to ripen fully.
These tomatoes are to be cooked up with some pumpkin and zucchini, onion and garlic to make a spaghetti sauce. A couple of the nicest looking will be kept aside for a salad.

Sunday, May 1, 2016

Garlic Planting

Our tradition is to plant the garlic as close to Anzac Day (25th April) as possible. So this year on the 26th it is time to clear the bed of its assortment of lanky tomatoes, overgrown radishes and beetroots and a weed or two and ready it for the garlic.
 
 
After weeding and forking the bed, my daughter (who miraculously decided to be helpful) separated the cloves. Lines were raked and the garlic placed carefully and regularly.


Five rows with a path down the middle should be enough for this bed. A similar amount planted at our other property should provide us with enough garlic for the next season. This variety is an early one which means we can pick it in November when the bed can be used for some later summer crops.


Sunday, April 24, 2016

Artichoke Harvest

We have one bed in our garden that grows Jerusalem artichokes. At this time of year all the plants are dug up and the soil carefully checked for tubers. Despite this attention the bed is full of artichokes the next autumn. We sometimes eat them ourselves and they taste like a nutty potato but they are hard to clean and too knobbly to peel effectively. It is also important to remove the skins or they have a tendency to cause bloating.
We use them as pig food. With only a short while left before the pigs are slaughtered these artichokes will make up a considerable part of their diet. One bed 2m x 1m yielded this trug full and two more 10litre containers. Not bad when you don't have to plant them.
 

Preserving in Mid-Autumn

It is past mid-autumn and so far no frosts. There is still plenty growing and plenty to preserve. We had some nashis picked so these were split between eating and bottling. I looked up on Sally Wise's website (she has written an excellent book on preserving called 'A Year in a Bottle' and she recommended using an apple corer and peeler and then putting rhubarb sticks in the hole. It seemed like a good idea to provide an aesthetic contribution to my preserves for next year's show but apart from a couple of jars I would just peel and chop them.
 

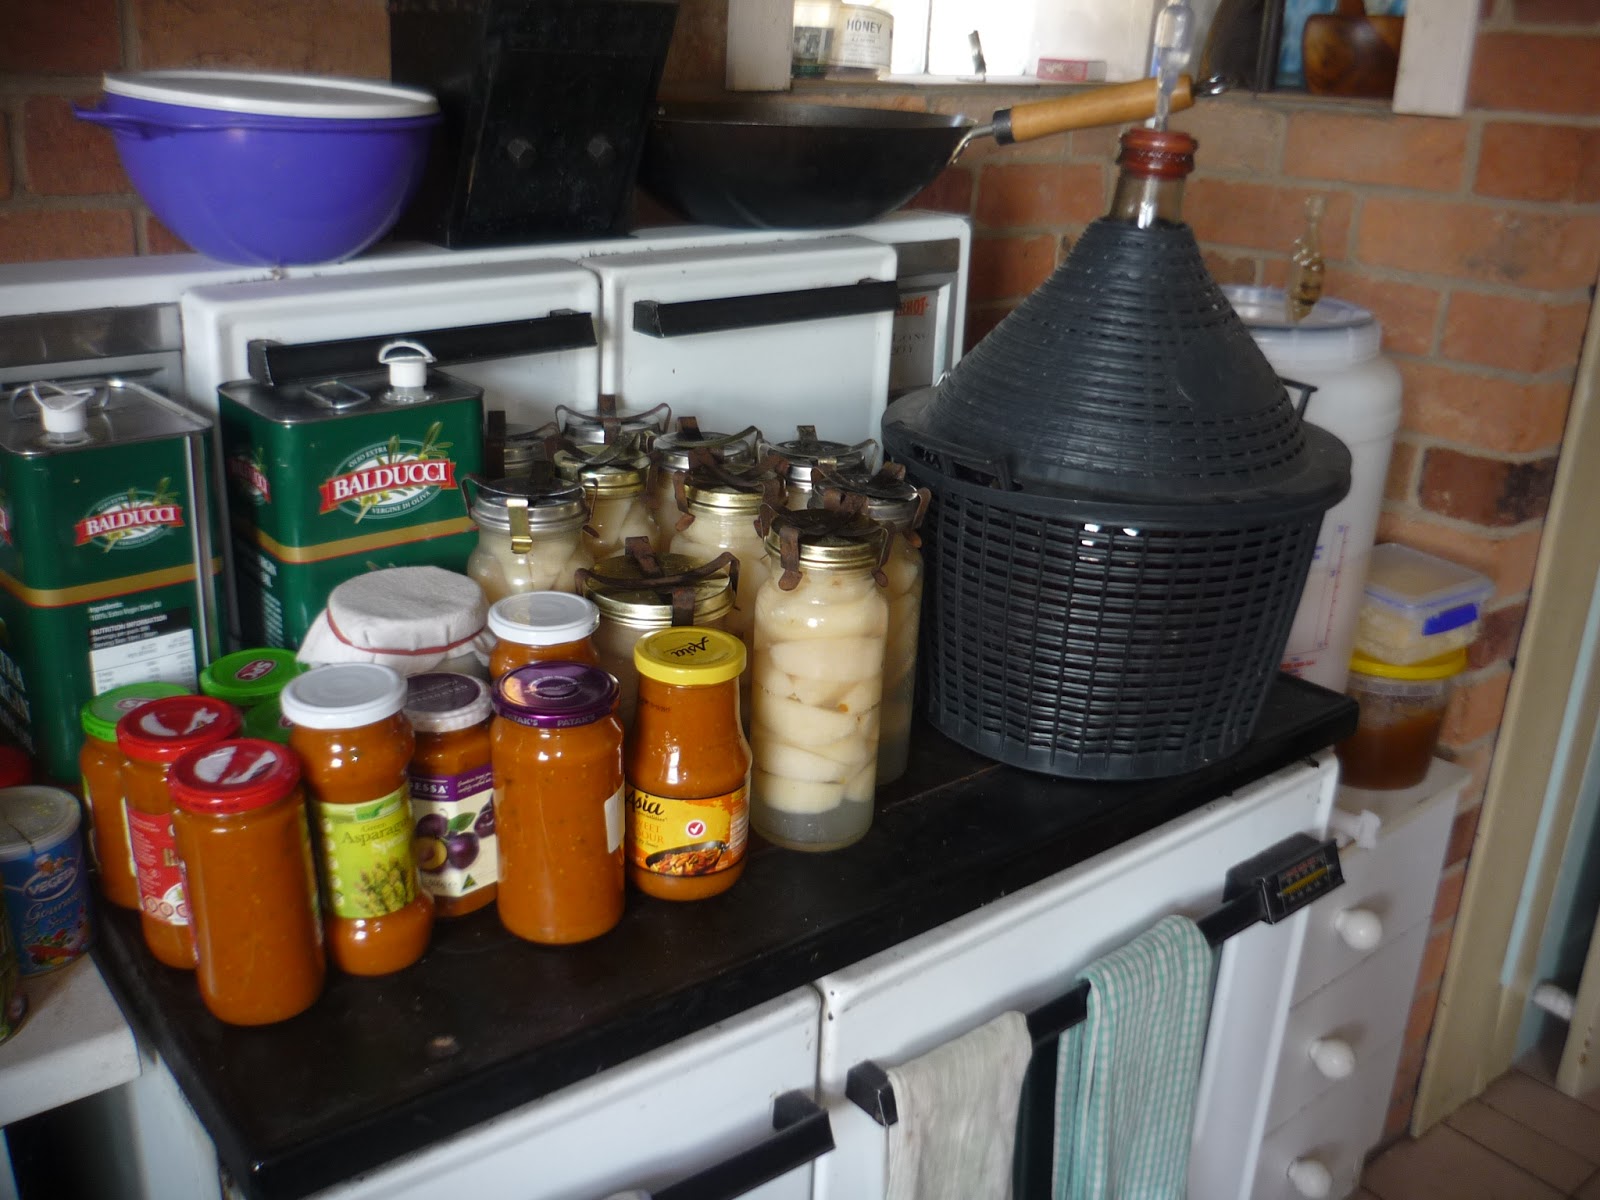
The nearest rhubarb was a little small for the hole so several sticks sufficed. It certainly looks fancy though the kids thought it looked like eyeballs! Eighteen jars later and I have run out jar rings so preserving will have to wait until I replenish. However I also made some more jars of tomato sauce, a jar of kefir, two bottles of kombucha, and a loaf of bread. The photo below shows some of the jars and bottles next to the merlot wine and the barrel of cider. It's a fine life.
 

Monday, April 11, 2016

Harvesting the Potatoes

 
Last year we grew enough potatoes to last our large family for about ten months. This year I was hoping to make it the full year. We planted in two patches - each on one of our two properties. One had a warm climate and regular watering, the other more fertile soil but colder and more sporadically watered. Both seemed to go well but that in a warmer climate seemed to die off much earlier.  
 
 
Four ten litre ice cream containers came out of the patch. There was one section still to be dug as there is a pumpkin growing on the top. It was still a good haul and will be packed away in the dark hanging shed in Styrofoam boxes filled with layers of sawdust. The really small ones will head to the pigs rather than be left to sprout again.

 
This year's patch ready for raking, manuring and preparing for the garlic crop to go in before Anzac Day.