Some days the farm work can take a back seat and we make time for something creative. I love working with wood so last year I went on a weekend course on how to carve spoons. For more info on these courses check out www.spoonsmith.com
Green woodworking is when freshly cut timber is used. For making a spoon moisture is needed to make the carving easier. The timber can be cut up well beforehand but is best kept in a moist place such as the fridge until you are ready to carve.
This morning I cut down a young silvertop ash tree and removed a round about 30cm long and 10cm in diameter. I split this in half lengthways using an axe and wooden mallet - it is always best not to strike metal on metal.
Each of these pieces were roughly axed into a spoon shape - narrower on the handle end and curved on the spoon end.

We put on the leather aprons Michelle made from one of our goatskins and shaped the wood further with a very sharp knife. We realized that having a glove on the hand holding the wood would reduce the need for bandaids and blisters. The aprons worked very well at protecting our bodies from cuts.
Once the outline of the spoon had taken shape we reached for the specially shaped spoon carving tools.
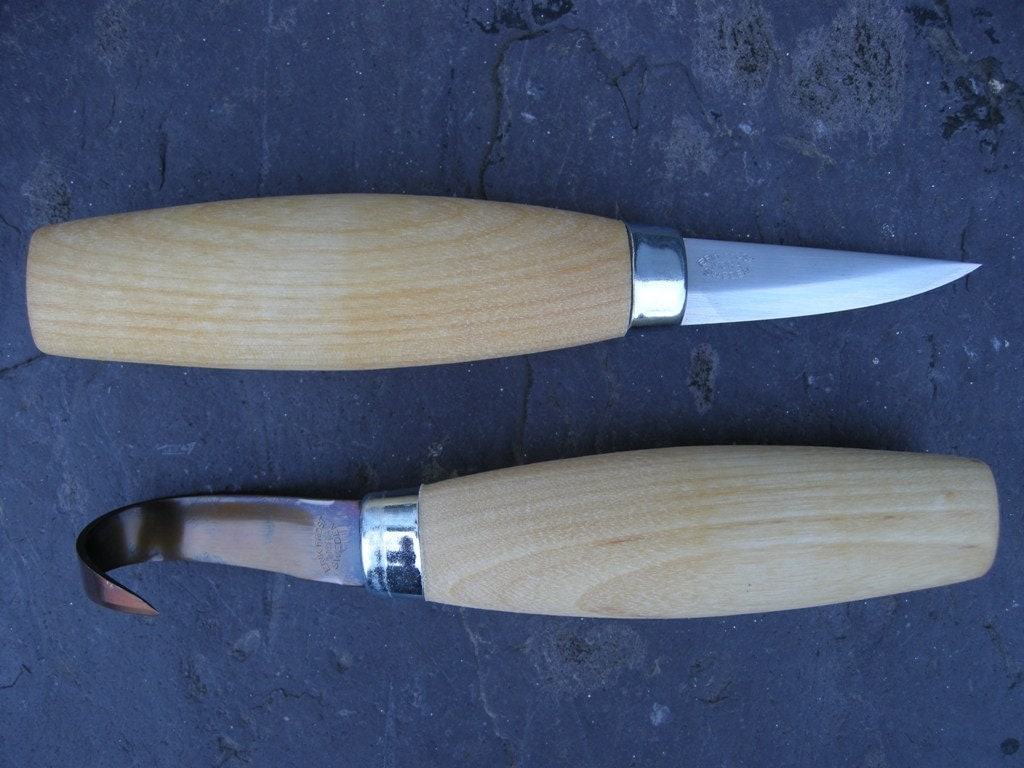
You can get left and right handed spooncarving tools but despite my being a lefty we have two right handed ones. My searching could not find any made in Australia so they were imported from England which seems to be the home of Green Woodworking.
It takes a while to get the spooncarving knife working well across the grain to make an indent but once enough shavings are scooped out it scrapes smoothly and effectively.
We ran out of time to complete the spoon shaping but they are in the fridge ready for next time.
No comments:
Post a Comment