Thursday, March 17, 2016

Champion Collection of Vegetables

The 2016 local show was a chance to showcase our produce. Plates of apples, pears and berries were in the fruit section. Tomatoes of all colours and varieties, pumpkins, squashes, beets, onions, marrows and lots of others were in the vegetable section. Brown and white eggs and potatoes have their own parts of the Dairy section.
 

The most valuable award is the 'Champion Collection of Vegetables' - six distinct varieties, two of each. I entered capsicum, eggplant, tomatoes, potatoes, zucchini and squash. The advantage of gardening at a lower altitude than most entrants gave me the edge and the award was won.


This year I also won the 'Collection of Apples', the overall winner of the fruit and the vegetable sections and between three of the kids they won a junior section and the encouragement award.
One daughter won prize money in the Junior Cattle and Junior Grain competitions. Two came home with show girl sashes and two won events in the horse events. 
 
Plenty of smiles, prize money and an endorsement of the lifestyle of being homesteaders.  

Preparing for the Show

In 2015 I first entered the local show. This involved learning a whole new language and protocols of how to present and what is meant by terms such as 'Winter Squash'  or 'Dessert plums'. The kids entered large and unusual vegetables.
We came away with plenty of awards including 'Champion Vegetable Exhibit' and 'Most Prolific Vegetable Exhibitor'. It was very gratifying so this year we were more prepared.
 
 
A day was spent collecting the best looking fruit and vegetables.

 
The biggest pumpkins and marrows were labelled.

 
Other items such as jam and preserved peaches were prepared to enter other sections. Then two car loads of produce, art work and cooking was delivered to the Show hall. The weather was unseasonally hot so the butter icing melted and the silverbeet wilted in the tin-clad Hall.
All that was needed was the judging.
 

Autumn Processing

A friend gave us a bag of plums. We have heaps of apples. Time for some preserving.
  1. The plums were washed and the stones removed.
  2. The apples were peeled and cored.
  3. These were put into a large pot with a small amount of water and a couple of tablespoons of sugar.
  4. Once the fruit was soft a stick processor was used to mush the fruit up.
  5. The mixture was poured into Vacola jars and lids fitted.
  6. The bottles were slowly heated up to 85 degrees Celsius (180 F) taking 45 mins to reach it.
  7. This temperature was maintained for one hour.
  8. Once cool the bottles were removed from the water and placed in a cool place.
  9. One winter night we get to eat some tasty fruit.

Tuesday, March 8, 2016

Roadside Haul


A hour to spare while my daughter is doing her dance lessons. Three roadside trees about five kms out of town laden with fruit. Three empty boxes waiting for a purpose. A recipe for a productive haul of apples.
There were plenty of damaged and partially eaten apples on the ground where the parrots and cockatoos had dropped them but the fruit on the trees that was within reach was plenty. The first tree had plenty of marks on the skins, maybe a product of weather damage or blemishes in the growing period. The second tree had bigger fruit and was probably a Golden Delicious. The third was the most productive and the fruit was so ripe and unmarked that fussy children who usually object to 'homegrown' fruit eagerly ask for them to go in their lunchbox.
We have found that roadside apples make for good cider. This haul will form the base for this year's brew.

Thursday, February 18, 2016

Reflection on Comet's Last Day

I watched Comet the Jersey/Dexter calf being born sixteen months ago. For the past fifteen of those I have let her in to her mother Hailey each  morning after milking and escorted her out with a shout of "Hup" in the late afternoon. I have watched her grow from a bundle of legs trying to stand within minutes of birth, to a heifer about three-quarters the size of her mother.

I loved the idea of having a second cow so that we had no period of time without milk and that the two mothers could keep each other company. Rationally, we don't have enough grass for two cows, especially through winter and if they both have calves. Realistically we get enough milk from Hailey for our domestic needs and the milking process already takes enough of my day.

So Comet had to become a welcome freezer filler. The cost of feeding and growing a milking cow makes the price of the milk produced about the same as buying the second cheapest brand in the supermarket.   The real financial benefit in having a house cow comes in the cost of the meat from the calf grown with a share of that milk.

Loading Comet onto the stock crate was easy. She is trained like her mother to follow the red bucket and has a taste for the beef nuts it contains. It was the movement of the trailer on the windy and corrugated road that must have been very stressful for an animal that had never been more than 400m from where it was born. 105 kilometres of bends and bumps to the nearest abattoir was a long way to be of unsure footing.

The abattoir was clean and well organized but the mental understanding of what is done there and what it means to an animal you know so well was hard. My 27 years of vegetarianism was given up by an understanding that eating meat you've met - that has had as good a life as possible - is better than eating alternatives created far away with unknown practices. The actual slaughter part is still stressful.

Comet was quietly encouraged into a holding pen and I left. I will enjoy the bounty that she will provide not just because of the taste of healthy organic beef, but because Comet was special, our first calf. It is a necessary part of producing your own food that some life has to end.

Sorting, Tagging and Drenching the Sheep

 
Of all the animals on Opportunity Farm the flock of Wiltshire Horn sheep are the easiest to manage. They stay in their fences, they breed and birth easily, don't require shearing or crutching and come when they are called. Much of the time they are out of sight feeding themselves. In Winter they are supplemented with some Lucerne and sheep nuts and we keep an close eye for rejected lambs in Spring. However they do need regular drenching, especially to combat the impact of worms. So about every three months or when we see them looking unhealthy they need to be brought into the yards.
 
At this time of year we separate them into two groups. The ewes we want to breed off are put in with the ram while the coloured sheep are put in with last year's ewe lambs and wethers.
Our neighbour with whom we share the sheep brings his experience to help us with the drenching. Michelle filled the syringes and passed them to him to wrestle open the sheep's mouths and squirt in the drench while I moved the sheep up and wedged them tight against the race wall.
We also decided to tag them all with our Opp. Farm orange ear tags so that they are easily recognizable and that if we remove any from the property that they have the farm identifier number on them which is now a requirement for all livestock. The protocol is to clip the tag into the sheep's right ear for a female and the left for a male. This certainly saves lifting them up when they are in the race just to identify their gender.
 
Now the ram is happy and has a flock of ewes to protect and inseminate and the wethers can be fattened up for the freezer. 


Some of the Wiltshire Horn ewes awaiting drench and tagging with Harriet, the coloured Merino, in the foreground.

Bottling the Peaches

 
The peaches are ripe and will spoil quickly if they are not processed. A few of these were fallers but the chickens under the trees soon clear up the bounty so I had to pick the rest. I reach up to the stem and press very carefully to ascertain if the peach is ripe. Even this action will leave an indent that will turn into a bruise in less than a day. If the peach trees were at the same location as the processing then I would make sure that each peach was kept away from being touched and pressed upon by anything until I was ready to deal with it. However as I have to drive the peaches 38km on a corrugated dirt road and have limited space in the car they have to be placed in as wide a box as possible to reduce the weight of the upper peaches on the lower ones. Nonetheless they bruise.
 
 
Some of the nearly 200 peaches needing to be bottled.

 
I have two Vacola sterilisers and one special thermometer. Even on a conventional stove top it is possible to use both and sterilize up to 16 bottles at the same time.

 
I set up clean bottles, a sharp knife, peeler, a chopping board and two scrap buckets - one for peach stones and one for all the skins and an damaged flesh.

 
The bottle lids and rings are sat in hot water for a least 15 minutes before using. I reuse both but cull any ratty looking rings or lids that have been prised open in a way that leaves a dent.

 
 In advance I have prepared some sugar syrup. For this batch I put 2kg of sugar to 5 litres of water. However this was too heavy which meant the fruit rose in the jars. For later batches I will use 1 1/2 kg for 5 litres. That amount will fill up to 20 no.31 bottles. I prefer these ones (which use a size 4 ring and lid) because I can fit my hand in easily to arrange the fruit. 

 
I peel the skin off the flesh. If the peach is ripe enough this can be done by hand but a peeler can do the job well if needed. The peach halves are cut into segments which are arranged in layers with the curve of the peach matching the curve of the bottle. After a couple of layer a segment is pushed into the hole in the middle and then some sugar syrup is poured in. This assists with avoiding fruit spoilage and reduces the amount of air bubbles caught on the sides. If there is air trapped I release it by sliding a sharp knife down the side. When the fruit and syrup reaches the top the lid is placed on and held firmly in place with two clips. The bottles are placed in the Vacola unit and water added until it almost comes out of the thermometer hole.    
The water needs to be brought up to 180F (83C) slowly - at least 45 minutes and then kept at that temperature for at least 60 minutes.
If I have another batch of bottles ready I carefully remove the  sterilized bottles and half of the water, put the new bottles in and top up the water with cold.
After a day I remove one clip and after two I transfer the bottles to the shed. It is best to keep them in the dark. Those bottles where the syrup was too 'heavy' and the fruit has risen I will turn upside down after about two weeks and shake gently to encourage the syrup to move between the segments of fruit. Bottle peaches will potentially keep forever but will start to use their vitality and nutrients after about a year.

Monday, February 8, 2016

Shearing Shed Details

 
Shearing Sheds need a pen to hold the sheep about to be shorn. This has a gate that swings both ways so that the shearer can enter the pen, catch and drag out a sheep while the door swings closed. The photo below shows the pen and doors in an abandoned shearing shed near to Opportunity Farm.
 
 
Our shed only needs to cater for a small number of sheep. Our pen can hold about five while more can be brought in through the door via a ramp at the back of the shed. The pen is constructed from materials from the abandoned shed. 

 
The floor of the pen is slatted which allows the urine and the excrement from the sheep to fall to the ground beneath the shed while being solid enough that the sheep don't get their hooves stuck in the gaps.

 
Once the sheep has been dragged out of the pen the floor of the shed where the shearer shears the sheep has to be smooth and solid to ensure that the fleece and other sections of what is shorn can be swept up and that the wool does not catch on rough surfaces. This floor has to be easily and regularly swept so I have used a variety of pine and hardwood tongue and groove flooring. It was not easy to put together as the grooves didn't match, the flooring was a variety of sizes and because the shed is not square the shape of each piece near the edge was unique. 

 
This is the board of our shed. A couple of the planks are darkened as they were rescued from a house that was badly damaged by fire and the flooring coated in soot and ash. Still it all has a new home and a new lease of life.

Friday, February 5, 2016

Making Pasta and Tomato Sauces

 
There are plenty of tomatoes ripening this week so it was time to make sauce.
 
Firstly some Tomato sauce or Ketchup. We use a recipe from Sally Wise's fantastic book for preserves called "A Year in a Bottle".
 
6kg tomatoes
1kg onions
750g sugar
2 cups vinegar
120g salt
1.5 tbsp. whole cloves
1.5tbsp allspice berries
0.5 tsp cayenne pepper
 
All the ingredients were boiled up and cooked for 4 hours. The mixture was then whizzed with the processor stick, strained through a sieve and boiled again before pouring into warm bottles that had been sterilised in the oven for 20 minutes.
 

The tomato sauce mixture is on the right. The large pot is for the pasta sauce. With this we have no exact recipe. Some oil, onion and garlic is sautéed first, then zucchinis or other excess vegetables are roughly chopped and added before the tomatoes are added. This is boiled up until mostly liquid, pureed with the stick and then bottled in jars. This large saucepanful filled 18 375g jars which is nearly 7 litres of sauce. Last year we made about 90 jars and ran out a week before the first jar of this season was made.
We use it on pasta, in meatballs, on pizzas and it provides a rich and tasty sauce all year.
 
A variety of tomatoes ready for the pot. It doesn't matter if some are salad tomatoes, beef tomatoes or cherry tomatoes. They all go in.


Tuesday, February 2, 2016

Harvest haul


It is that time of year when the plants are producing as fast as you can pick. The Gravenstein apples are falling, the peaches going soft, the tomatoes red and the zucchinis large. There is an excess of cucumbers, a culling of basil leaves and a sprouting of silverbeet.

Tomorrow there is tomato sauce, spaghetti sauce and pesto to make. The pigs have plenty to munch on and the pantry is full of apples.

All is well with the world of Opportunity Farm.

Monday, February 1, 2016

Spinning up a Yarn at the Shearing Competition

 
Our local town hosted a shearing competition as part of a commemorative weekend of events. To do this they erected a huge marquee and under it built a six stand shearing platform complete with lights and shearing plant, wool table and press.
One of the committee had the bright idea of trying to turn some of the wool shorn into a wearable product in the course of the day. They needed a spinner - Michelle.
We needed our five non-shedding sheep to be shorn. A deal was made. If our sheep were there at the start they would shear them and give us the fleeces. (It is very important not to put coloured wool in with the standard white). Then it was up to Michelle and friends to demonstrate how they did it in the 'old days'.
 
 
Cilla (the Black sheep) and Shaun (the white Dorset) being shorn.

 
Daisy ready for her trim.

 
Harriet (the spotty Merino) and Cilla after shearing.


Robert remembering how well his grandmother taught him to spin with eager watchers.

Those spinning and knitting managed to make about half a jumper in the day and could have done a fair bit more if they hadn't enjoyed sharing knowledge with so many interested visitors. If there is a next time they will be a bit more prepared and may make something less ambitious!

Growing Piglets

Target, Beaubeau and Sir Oinkers arrived at Opportunity Farm a month ago. They are happily ensconced in their pen where they dig up tussocks that we don't want and replace it with manure-strewn soil which we cast grass seed over.

They have been eating a mix of garden and kitchen scraps, leftovers from the local café, fallen fruit and pig pellets. Their feeder is made from a small gas bottle cut in half lengthways. While this is sturdy and a suitable size in previous years there have been two problems. It collected water (and then rusted) and the pigs could push the metal feeder up against the electric fence and make their food 'live'. This year I have drilled holes in the base and also screwed longer 'legs' to it so that it doesn't move. So far all has gone well.

The weaners have doubled in size in a month. The plan is to have them up to 70kg by the end of April.

Sunday, January 31, 2016

Finding what we need for the Shearing Shed

 
Our Shearing Shed is almost entirely made from materials recycled from sheds no longer in use and collapsing from old age. Our main source was a shed which had all the internal parts removed leaving a shell that had no integrity and started to fall over. Some of the rusting but solid tin from this shed has now been fixed on three sides of our 'new' shed but we lacked some of vital fittings.
 
Today we hit the jackpot and found a dying shed on a neighbouring property. Some of the roof was missing and it was starting to lean. 
 
 
Despite the dilapidation there was a wool table in decent condition and plenty of internal panelling and gates. For our five sheep we only need two short lengths of wall panels and one gate.


The internal panelling waiting to be removed and rebuilt for a second chance at life.
 

Last year Michelle tried to buy a wool table at a clearing sale but it went for an astronomical price. As she had waited all day with a bunch of hot and bored kids she bid high but in vain. Sometimes the solution is under your nose and only takes a bit of asking the right questions to the right people. We had a great score and the satisfaction of knowing that a piece of local history gets a chance for a new life.

Tuesday, January 19, 2016

How to make and set a trap for Codling Moths


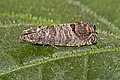
Codling Moths can be a real problem in an organic apple orchard. Their larvae burrow their way into the heart of the apple and it rots from the inside out.


An adult codling moth (ref: Wikipedia)
 
 
The damaged apples
 
I am not sure whether we have an infestation of codling moth but rather than wait to be certain either way I decided to lay some traps. First I made sure that I had:
Vinegar
Ammonia
Molasses
Water
Then I cut some 2litre plastic bottles in half. Each half was punctured on both sides and a piece of builder's string was tied through each hole.


The mixture consists of 5 cups water, 1/3 cup of molasses, 1/8 tsp ammonia and 1 cup of vinegar.
 
 
I made three times the mixture and this made plenty for my six traps.

 
One of the traps set in the orchard. I will check next week to see if we have caught anything.


Wednesday, January 13, 2016

Harvest Time begins

 
The planting and growing season has turned into the season of harvesting and processing. Some plants such as asparagus, the berries and currants have already been picked but there comes a point when the summer crops start to produce in volume and the fruit on the trees begins to ripen. From now for the next couple of months there is always plenty to pick and if I don't keep on top of it there will be wasted food.
The pigs do well in this season as they can gorge on the fallen or damaged fruit and the excess vegetables such as zucchini and Jerusalem artichoke.
 
 
The Gravenstein apples are always the first to ripen. A couple were ready but there were plenty of fallers on the ground. The bruised or chewed ones will go straight to the pigs while the unblemished will go in the pantry for later. Apples, unlike pears and many other fruit, do not ripen off the tree but they can be used to make cider or pork later.

 
The first tomatoes are ripening and the lower branches need to be snipped off to allow the air to get to the fruit. Many plants are almost up to the net roof.

 
The zucchinis, squash and pumpkins are vying for space and are climbing the walls to reach the light. While our vegetable garden is caged, the birds normally do not attack the vines unless they are really desperate.

The busiest time of year at Opportunity Farm begins.
 

Tuesday, January 12, 2016

An Early Entry for the Show


This year I planted some seeds of a pumpkin variety called 'World's Largest'. I thought it might provide a few entries for the kids in the Biggest Pumpkin Competition at the local show in March.
It is certainly an apt name as this pumpkin grew so large so quickly that it broke off its vine. This is not surprising as it weighs about 25kg! There are two other fruits growing which have not reached such a size but are still attached. These now have supports underneath so will hopefully reach a fair size by the time they are needed.

Monday, January 11, 2016

Rafter Raising


The Shearing Shed/Workshop is now topped by nearly all of the rafters. These are round poles felled in the early 1950s and used to hold up the roof of the original shearing shed that I demolished. They are getting a new lease of life over sixty years later and help make our shed look authentic and old.

It wasn't easy to fix the rafters to the ridge pole as it stands over four metres from floor level but a temporary floor across the open side made it possible.

 
As the shed is definitely not square the end rafters will need to be carefully measured so that the tin fits. Roofing iron needs to be put on square or the edges start to get jagged.

Raising Weaner Piglets


For the last four years we have raised piglets. They are fattened up on fallen fruit, excess vegetables (pigs love zucchini!) and food scraps from the local café, supplemented with commercial pig pellets when times are lean.
After Christmas I fetched three piglets from Cobargo Farm - an organic nursery and piggery a couple of hours away. They used to have an Old English Black boar and so a few of their piglets sport black patches. The Black pigs do not get sunburnt so they suit an outdoor pen in Australian summer.
 
 
We have two male piglets which have been named Sir Oinkers and Beau, while the female piglet is called Target due to the large round black patch on her behind. In the photo they are feeding while
Posy and Queenie look on enviously.


Beau, Sir Oinkers and Target enjoying the bolted lettuce from the garden. They will live a life of Reilly for the next five months or until they reach about 70kg.

Sunday, January 10, 2016

Summer Pursuits

When the heat of summer hits and there is space between the social gatherings of the season there are plenty of summer pursuits to be followed:
 
 
Watering the garden

 
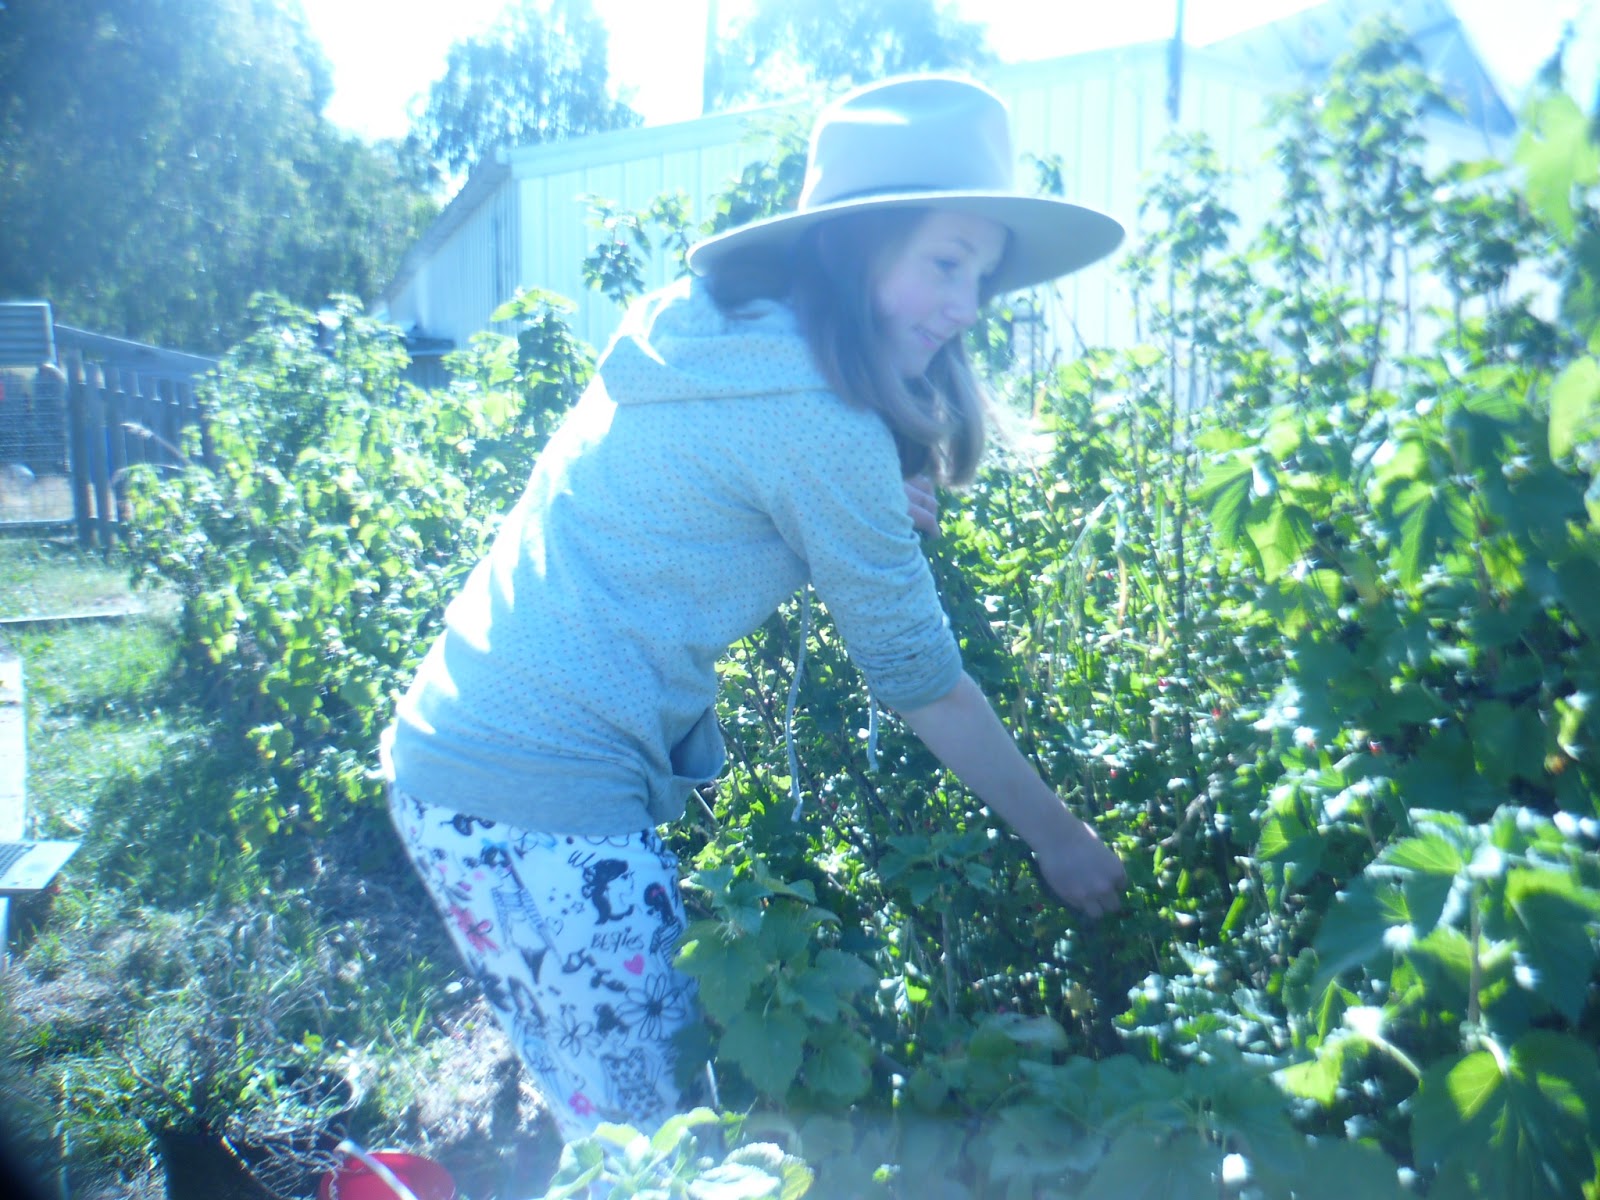
Harvesting the blackcurrants

 
Turning the redcurrants into jam

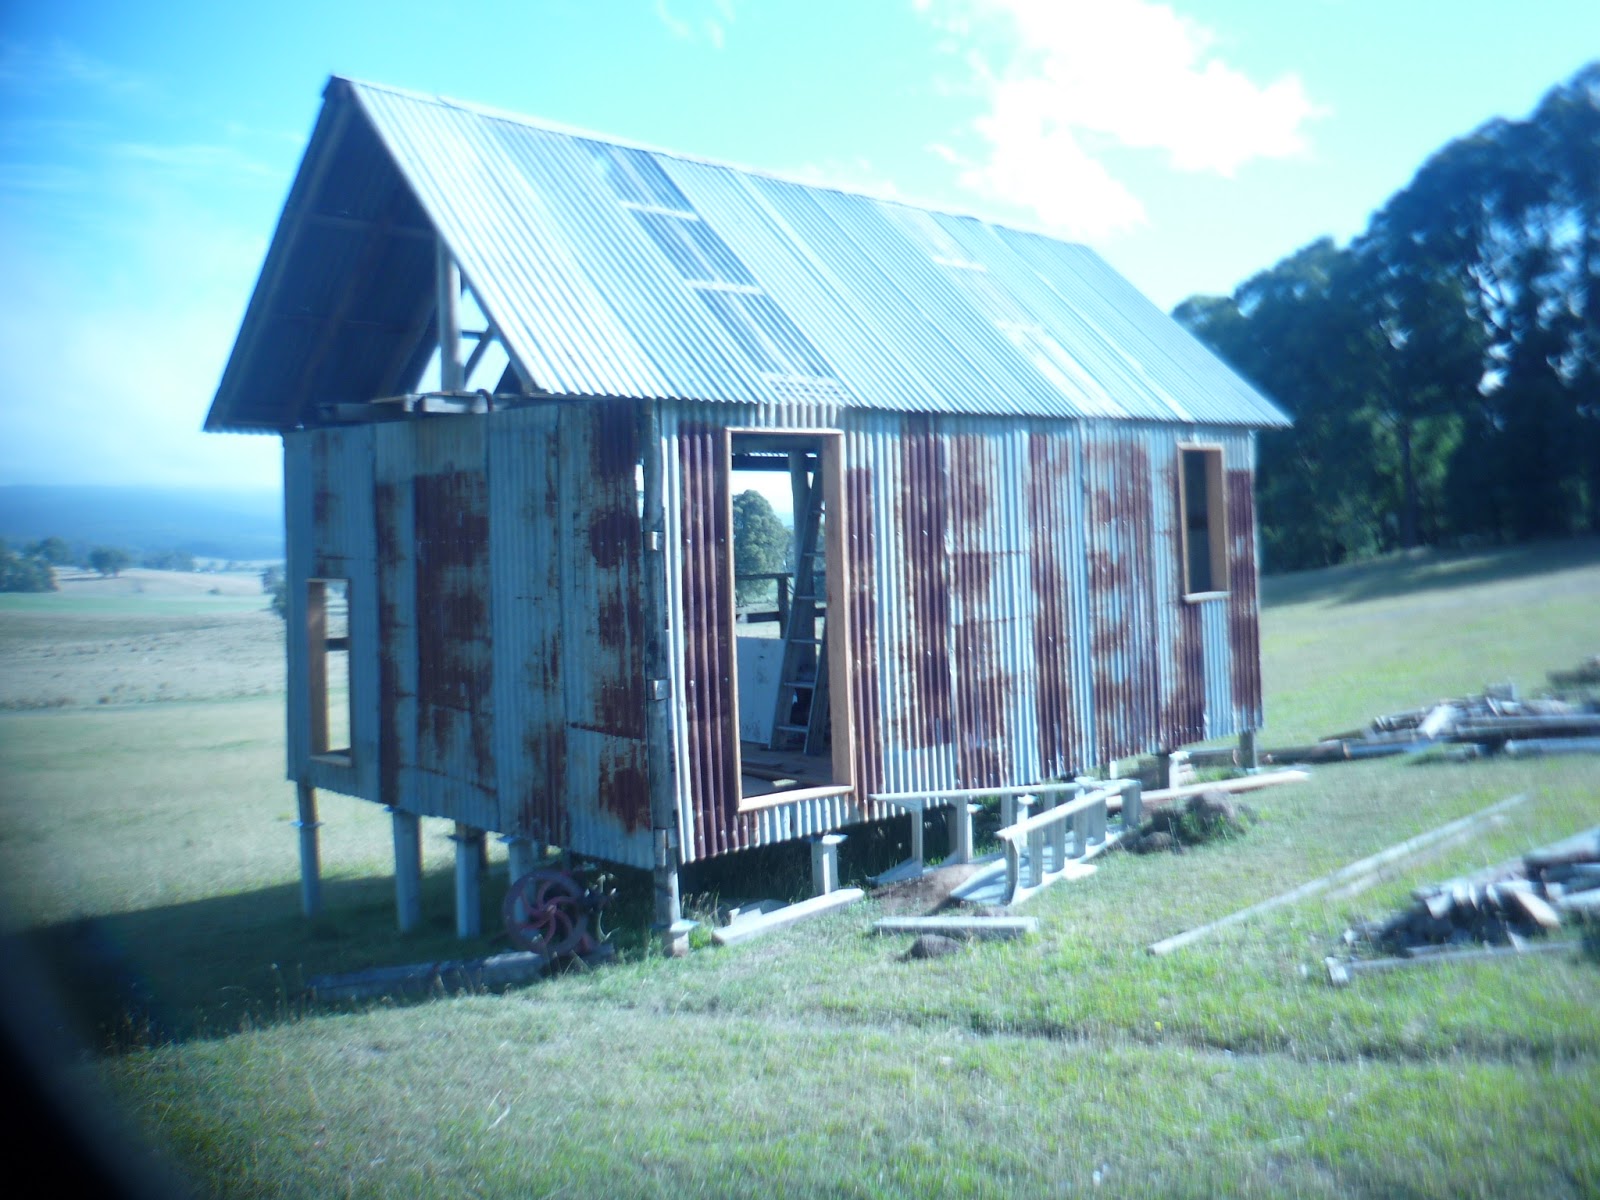
The Shearing Shed/Workshop Takes Shape

After several months of being too busy to make progress on the new shed it was time to get stuck into it. Helpers were organized and materials and tools readied.
Then it started to rain. Three days later it dried up enough to allow work to commence. The walls needed the framing completed. Downstairs there are four windows, two doors and a chute that have to be framed with all the timber notched into the round pole posts. While that was happening our willing wwoofer was screwing down the flooring. This might have been an easy task if the building was square and the timber the same size. Some planks had dried more at one end so they were a centimetre thinner than the other end. A large triangle piece was added to assist with making the floor squarer and the planks alternated to reduce the impact of the unequal drying. It looks good but the whole floor will need to be lifted and moved to reduce the gaps caused when the planks shrink fully. Hence the flooring screws rather than nails.

 
The upstairs flooring is cut and fixed.

The upstairs flooring is seasoned planks from the old shed we pulled down so it was much easier to lay them down and nail them. This gave a platform to work on the ridge pole. The three round poles were not quite tall enough to allow movement upstairs so an extension was fitted on each pole before the ridge pole was fitted. The next job will be adding the rafters.
The end walls were both sheeted with iron and the hole for the chute was cut out with the angle grinder. Progress at last!
 
The recycled tin being screwed on to the end walls.


The shed as at 9th January.